Robert Frost’s timeless poem, Stopping by Woods on a Snowy Evening, was written in 1922 and published in 1923 as part of his collection New Hampshire.
It captures a serene yet contemplative moment, blending nature’s beauty with themes of isolation and responsibility, while its musical adaptation further enhances its emotional depth and universal appeal.
1.1 Overview of the Poem
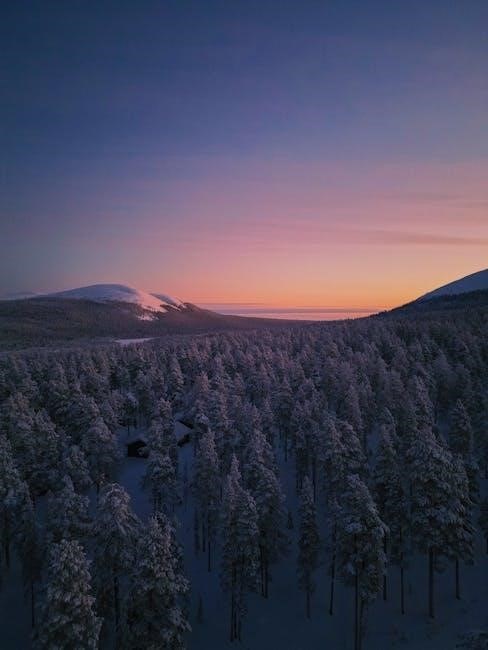
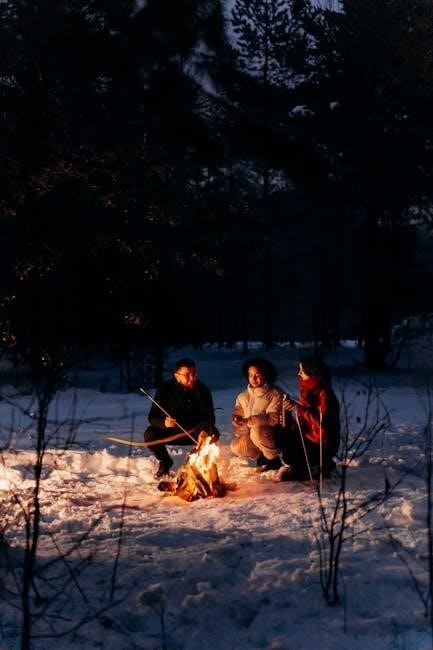
Stopping by Woods on a Snowy Evening is a contemplative poem where a traveler pauses in a snowy forest to admire its beauty. The speaker reflects on isolation and responsibility, symbolized by the woods and the horse. The poem explores themes of nature, mortality, and life’s journey, capturing a serene yet profound moment of introspection, enhanced by Frost’s masterful use of imagery and symbolism.
1.2 The Significance of the Title
The title Stopping by Woods on a Snowy Evening is simple yet evocative, setting the scene for a tranquil yet profound moment. It captures the essence of the poem, which explores themes of isolation, nature, and the fleeting pause in life’s journey. The title’s imagery invites readers to reflect on the beauty and solitude of the snowy woods, drawing them into the speaker’s contemplative world.
Robert Frost: The Author
Robert Frost, a celebrated American poet, is known for his rural New England settings and exploration of nature, isolation, and human complexity, as seen in his iconic poem.
2.1 Biographical Background
Robert Frost was born on March 26, 1874, in San Francisco, California. His early life was marked by frequent moves, eventually settling in New England, where he drew inspiration from the rural landscape. Frost’s career as a poet began late, but his work quickly gained recognition. He won the Pulitzer Prize for Poetry four times and became a significant figure in American literature, known for his unique style and deep connection to nature.
2.2 Frost’s Literary Style and Contributions
Robert Frost’s literary style is characterized by his mastery of rural settings, nature imagery, and symbolic depth. His poetry often explores themes of isolation, duty, and the human condition through traditional forms like rhyme and meter. Frost’s unique ability to balance simplicity with complexity has made his work accessible and enduring, significantly influencing American literature with its timeless appeal and universal resonance.
Historical Context of the Poem
Written in 1922 by Robert Frost in Franconia, New Hampshire, the poem was published in 1923 in his collection New Hampshire, earning him a Pulitzer Prize and acclaim.
3.1 The Time and Place of Composition
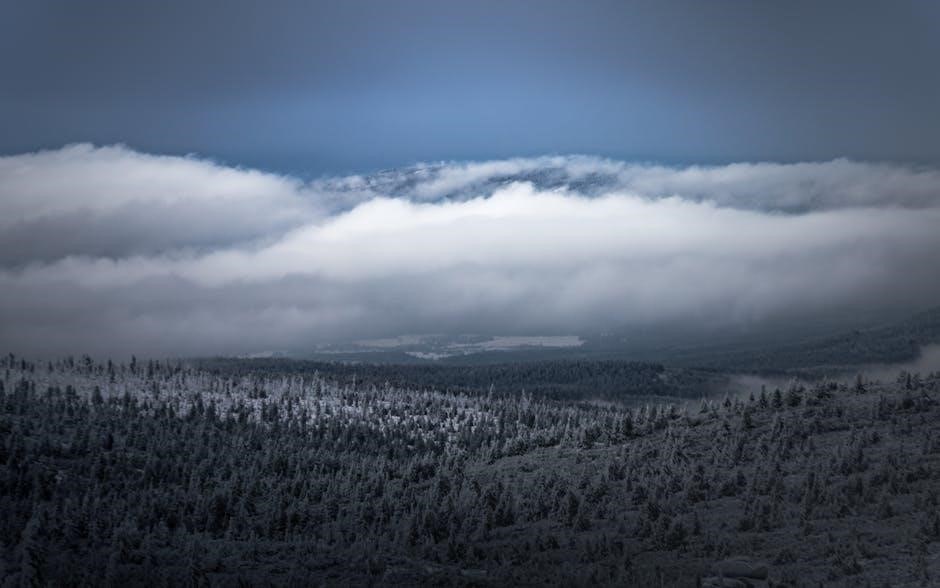
Robert Frost composed Stopping by Woods on a Snowy Evening in 1922 while residing in Franconia, New Hampshire. The serene winter setting inspired the poem’s tranquil imagery.
The poem reflects Frost’s connection to nature and rural life, themes central to his work during this period, showcasing his mastery of capturing profound meaning in simple landscapes.
3.2 The Publication and Reception
Stopping by Woods on a Snowy Evening was published in 1923 in Robert Frost’s collection New Hampshire, earning him a Pulitzer Prize and widespread acclaim.
The poem’s serene imagery and profound themes resonated deeply, solidifying Frost’s reputation as a master poet. Its universal appeal led to adaptations, including a musical version, though performances were limited due to copyright restrictions by the Frost estate.
Thematic Analysis
The poem explores themes of isolation, nature’s symbolism, and life’s journey, reflecting the speaker’s inner conflict between beauty and responsibility.
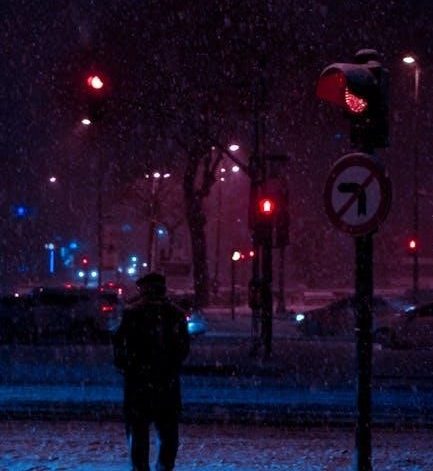
4.1 The Theme of Isolation
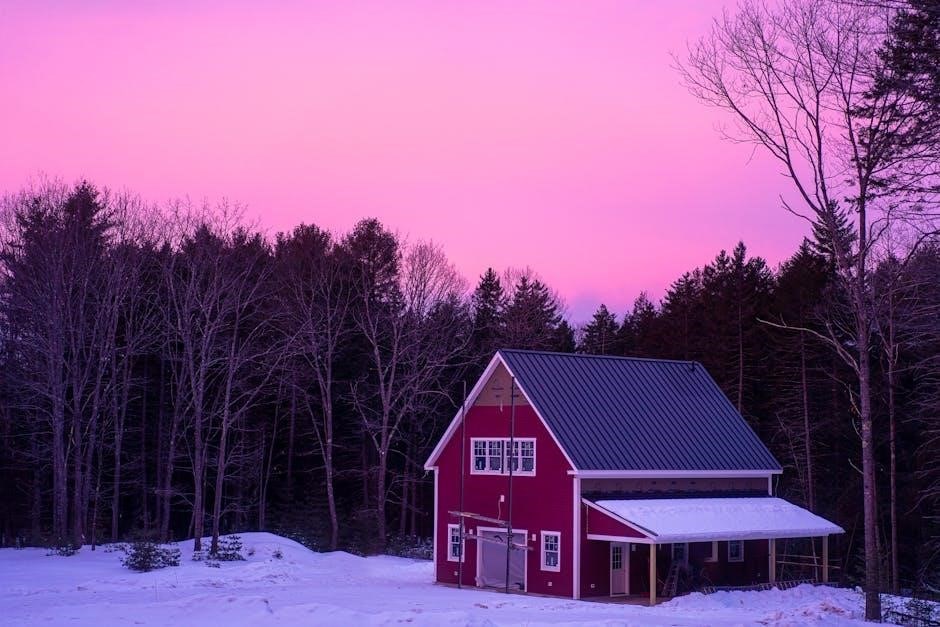
The poem delves into the theme of isolation, as the speaker stops by the woods, far from human presence, emphasizing solitude. The absence of a farmhouse and the frozen lake create a sense of remoteness. The speaker’s pause in the darkest evening of the year highlights the stillness and loneliness, while the horse’s reaction underscores the unusualness of the moment, reflecting the speaker’s inner isolation and contemplation.
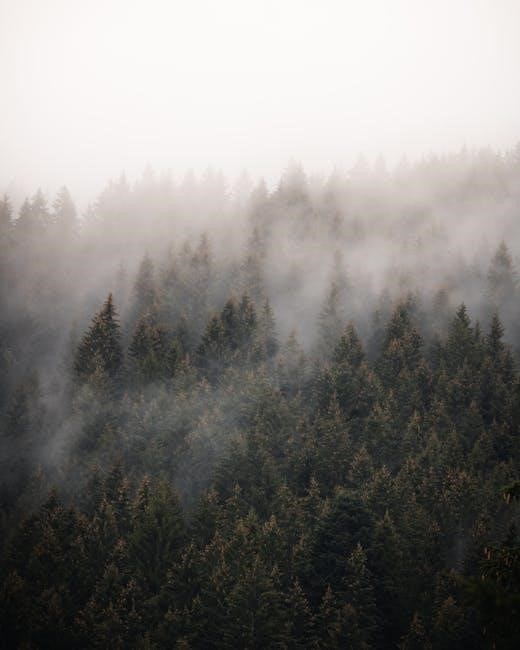
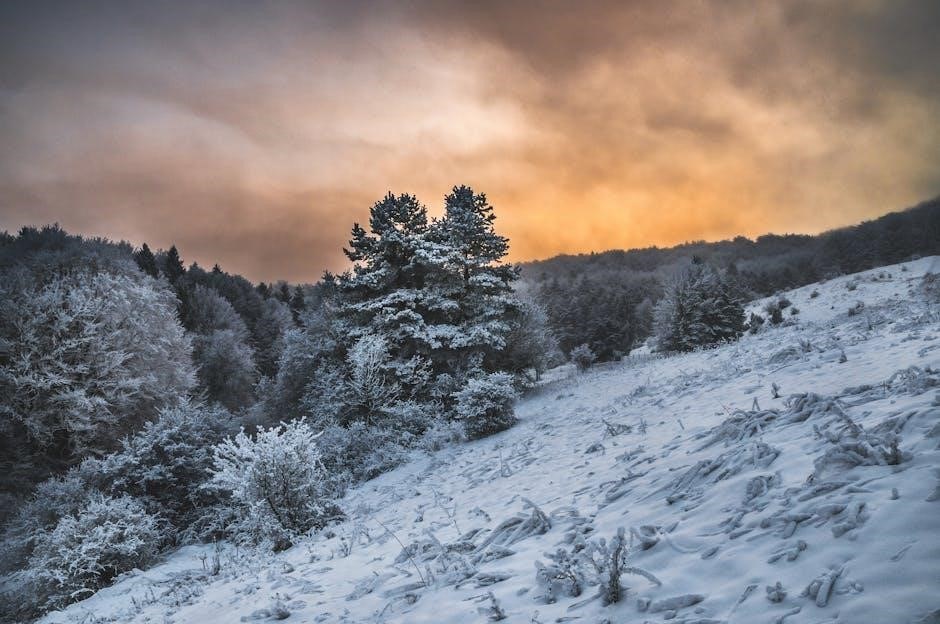
4.2 The Theme of Nature and Its Symbolism
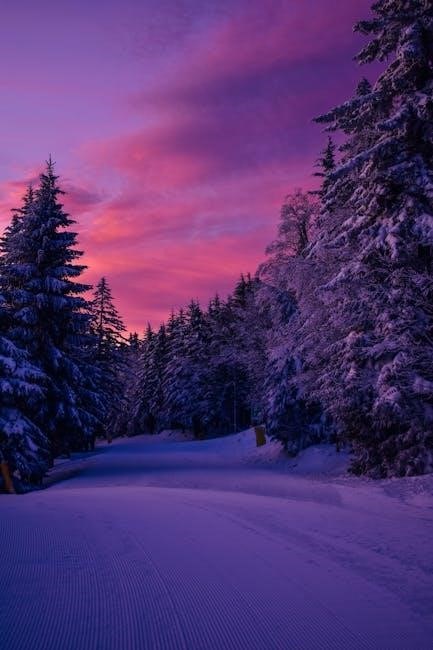
Nature in the poem is a central motif, with the snow-covered woods symbolizing tranquility and mystery. The frozen lake represents stillness, while the falling snow creates a serene atmosphere. These elements evoke a sense of wonder and introspection, drawing the speaker momentarily away from life’s duties. Frost uses nature to explore deeper existential themes, blending beauty with contemplation, making it a universal symbol of life’s fleeting moments and enduring beauty.
4.3 The Theme of Life’s Journey and Responsibilities
The poem reflects on life’s journey, emphasizing the speaker’s awareness of responsibilities. The lines “miles to go before I sleep” and “promises to keep” highlight obligations beyond the moment’s beauty. The allure of nature contrasts with duty, underscoring the inevitability of moving forward despite temptation to linger, symbolizing life’s relentless path and the balance between wonder and responsibility.
Poetic Structure and Style
Frost’s poem features a rhyming scheme of ABABBCBC, with quatrains and a couplet, creating a musical rhythm. The iambic tetrameter enhances the natural flow, mirroring the speaker’s steady journey through life, while the simple yet evocative language balances accessibility with profound emotional depth.
5.1 The Use of Rhyme and Meter
The poem follows a consistent rhyming scheme of ABABBCBC, with a rhythmic iambic tetrameter that mimics natural speech. This creates a soothing, musical quality, enhancing the contemplative mood. Frost’s meter and rhyme work harmoniously, contributing to the poem’s accessibility and enduring appeal, while also reflecting the steady pace of the speaker’s journey through the snowy evening.
5.2 Imagery and Symbolism in the Poem
Frost’s vivid imagery, such as snow-filled woods and a frozen lake, creates a serene yet haunting atmosphere. Symbols like the woods, often interpreted as death or solace, and the horse, representing duty, deepen the poem’s meaning. The contrast between stillness and the speaker’s obligations highlights life’s complexities, while the sensory details draw readers into the tranquil yet profound scene, enriching the poem’s emotional and philosophical depth.
The Woods as a Symbol
The woods symbolize death, solace, and mystery, offering a tranquil escape while hinting at life’s unknown depths and the speaker’s inner contemplation of mortality and isolation.
6.1 The Woods as a Representation of Death
The woods in Frost’s poem symbolize death through their dark, mysterious, and isolated portrayal. The speaker’s pause in this tranquil yet eerie setting evokes a contemplative mood, hinting at mortality. The woods’ depth and darkness suggest the unknown, while the falling snow creates a serene yet ominous atmosphere, reflecting life’s transient nature and the inevitability of death’s call.
6.2 The Woods as a Place of Solace and Contemplation
The woods offer the speaker solace, providing a peaceful escape from life’s burdens. The serene snowfall and quiet isolation create a meditative atmosphere, allowing reflection. The woods symbolize a temporary refuge, where the speaker can pause to appreciate nature’s beauty, finding comfort and clarity amidst the stillness, before resuming his journey and responsibilities.
The Horse as a Symbol
7.1 The Horse’s Role in the Poem
The horse serves as both a literal and symbolic companion, enabling the speaker’s journey while offering a practical perspective. Its curiosity about stopping in the woods highlights the isolation and unusual nature of the pause. The horse’s harness bells and movement subtly emphasize the tranquility of the snowy scene, while its presence underscores the speaker’s connection to routine and responsibility.
The horse symbolizes companionship and practicality, enabling the speaker’s journey. Its curiosity about stopping near the woods reflects isolation and the unusual nature of the pause. The harness bells’ soft sound contrasts with the serene winter landscape, while the horse’s presence underscores the speaker’s connection to routine and responsibility, emphasizing the necessity of moving forward despite the tempting tranquility of the woods.
7.2 The Horse’s Reaction and Its Significance
The horse’s reaction to stopping without a farmhouse nearby highlights its practical nature and instinctual curiosity. Its momentary pause and the soft sound of the harness bells emphasize the unusual nature of the stop, contrasting the serene winter landscape with the speaker’s responsibilities.
This reaction underscores the tension between the allure of nature and the necessity of moving forward, symbolizing the balance between contemplation and duty in life’s journey.
The Frozen Lake and the Darkest Evening
The frozen lake symbolizes stillness and the passage of time, while the darkest evening represents mortality and the speaker’s introspective moment, emphasizing life’s transient nature.
8;1 The Frozen Lake as a Symbol of Stillness
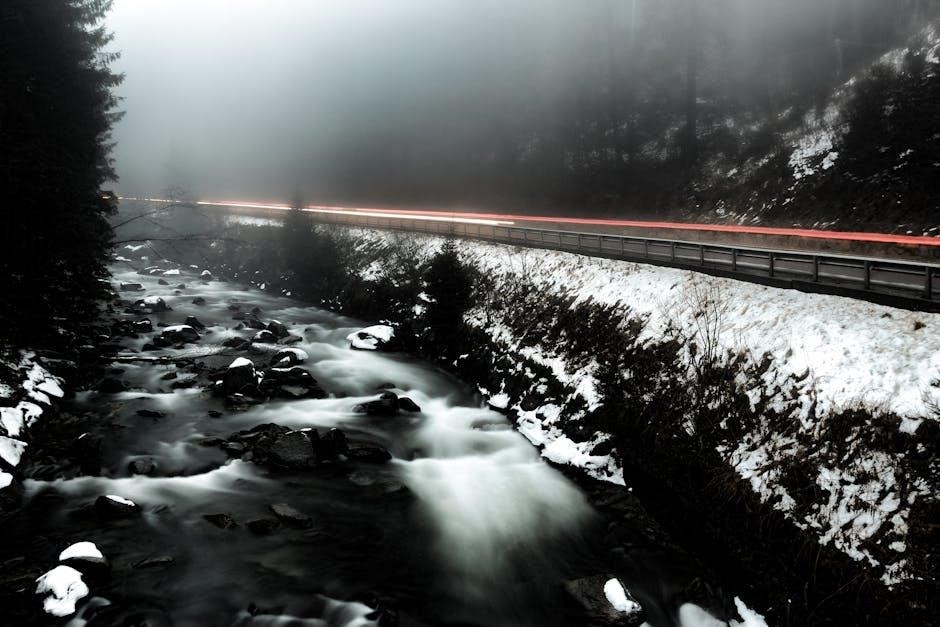
The frozen lake in Stopping by Woods on a Snowy Evening embodies stillness, reflecting the calm and quiet of the winter landscape. Its icy surface mirrors the serene atmosphere, creating a moment of pause between the bustling life and the tranquil woods. The lake’s stillness contrasts with the speaker’s journey, symbolizing a moment of introspection and the beauty of nature’s silence. The imagery evokes a sense of time standing still, allowing the speaker to appreciate the fleeting beauty of the scene before continuing onward. The frozen lake thus serves as a metaphor for the quiet moments in life where one can reflect and connect with the natural world. The stillness of the lake also highlights the isolation of the speaker, emphasizing the idea of being alone with one’s thoughts. The speaker’s pause by the frozen lake underscores the importance of taking time to appreciate nature’s beauty amidst life’s responsibilities and obligations. The lake’s stillness, therefore, becomes a symbol of peace and contemplation, offering a stark contrast to the dynamic and ever-changing world beyond the woods. The frozen lake’s presence in the poem adds depth to the themes of isolation and introspection, making it a pivotal element in the overall narrative. The stillness of the lake also serves as a reminder of the transience of life, as the ice will eventually thaw, symbolizing the impermanence of moments of peace and beauty. The frozen lake, in essence, is a powerful symbol that enriches the poem’s exploration of nature, solitude, and the human experience. The frozen lake’s stillness provides a backdrop for the speaker’s quiet reckoning with life’s journey, emphasizing the importance of moments of reflection and the enduring appeal of nature’s tranquility. The frozen lake’s presence in the poem is a testament to Frost’s ability to infuse natural imagery with profound emotional and philosophical depth. The stillness of the lake invites the reader to step into the speaker’s world, experiencing the beauty and solitude that define this winter evening. The frozen lake, as a symbol of stillness, plays a crucial role in shaping the poem’s themes and leaving a lasting impression on the reader. The stillness of the lake is a reminder to cherish moments of peace and reflection in an otherwise busy and often chaotic world. The frozen lake’s stillness, therefore, is not just a physical description but a metaphor for the quiet moments that give life meaning and depth. The stillness of the lake underscores the idea that sometimes, it is in the moments of pause that we find the greatest clarity and understanding. The frozen lake’s stillness is a powerful element that contributes to the poem’s timeless appeal, inviting readers to reflect on their own journeys and the beauty of nature. The frozen lake’s stillness is a testament to the enduring power of Frost’s poetry to evoke emotions and inspire introspection. The frozen lake’s stillness is a reminder of the importance of slowing down and appreciating the beauty that surrounds us, even in the most fleeting moments. The frozen lake’s stillness is a central element that enhances the poem’s exploration of solitude, responsibility, and the human condition. The frozen lake’s stillness is a masterful use of imagery that continues to resonate with readers, making the poem a cherished part of literary heritage. The frozen lake’s stillness is a symbol that transcends the physical landscape, speaking to the deeper aspects of human experience. The frozen lake’s stillness is a profound reminder of the beauty and peace that can be found in moments of stillness and reflection. The frozen lake’s stillness is a key component of the poem’s ability to evoke a sense of wonder and contemplation in readers. The frozen lake’s stillness is a testament to Frost’s skill in crafting imagery that is both vivid and meaningful. The frozen lake’s stillness is a powerful symbol that adds layers of depth to the poem’s narrative and themes. The frozen lake’s stillness is a crucial element that enhances the poem’s emotional resonance and philosophical depth. The frozen lake’s stillness is a reminder of the importance of nature in providing solace and inspiration. The frozen lake’s stillness is a symbol that invites readers to pause and reflect on their own lives and journeys. The frozen lake’s stillness is a masterful element that contributes to the poem’s enduring legacy and universal appeal. The frozen lake’s stillness is a testament to the power of poetry to capture the essence of the human experience. The frozen lake’s stillness is a central theme that underscores the importance of moments of quiet reflection in a busy world. The frozen lake’s stillness is a powerful metaphor that enriches the poem’s exploration of isolation and introspection. The frozen lake’s stillness is a beautiful and evocative image that has become iconic in American literature. The frozen lake’s stillness is a reminder of the beauty and tranquility that can be found in the natural world. The frozen lake’s stillness is a symbol that continues to inspire readers to appreciate the fleeting moments of beauty in life. The frozen lake’s stillness is a key element that contributes to the poem’s timeless appeal and literary significance. The frozen lake’s stillness is a testament to Frost’s ability to transform the ordinary into the extraordinary through his poetry. The frozen lake’s stillness is a powerful symbol that invites readers to slow down and appreciate the beauty of the present moment. The frozen lake’s stillness is a central element that enhances the poem’s themes of solitude and the journey of life. The frozen lake’s stillness is a reminder of the importance of nature in providing solace and inspiration, as well as a moment for introspection. The frozen lake’s stillness is a symbol that underscores the idea that sometimes, the most profound moments are those of quiet reflection. The frozen lake’s stillness is a testament to the enduring power of Frost’s poetry to evoke emotions and inspire deeper thought. The frozen lake’s stillness is a beautiful and evocative image that has captured the hearts of readers for generations. The frozen lake’s stillness is a powerful symbol that enriches the poem’s narrative and themes, making it a cherished part of literary history. The frozen lake’s stillness is a reminder to appreciate the beauty and peace that can be found in moments of quiet reflection. The frozen lake’s stillness is a central element that contributes to the poem’s exploration of the human condition and the journey of life. The frozen lake’s stillness is a testament to Frost’s skill in crafting imagery that is both vivid and meaningful, resonating with readers on a deep level. The frozen lake’s stillness is a powerful metaphor that underscores the importance of moments of pause in an otherwise fast-paced world. The frozen lake’s stillness is a symbol that continues to inspire readers to reflect on their own lives and the beauty of nature. The frozen lake’s stillness is a key component of the poem’s ability to evoke a sense of wonder and contemplation, leaving a lasting impression on all who read it. The frozen lake’s stillness is a testament to the power of poetry to capture the essence of the human experience in a way that is both beautiful and profound. The frozen lake’s stillness is a central theme that emphasizes the importance of solitude and introspection in understanding oneself and the world. The frozen lake’s stillness is a powerful element that enhances the poem’s emotional depth and philosophical insight, making it a timeless classic. The frozen lake’s stillness is a reminder of the beauty and tranquility that can be found in the natural world, inviting readers to step into the serene landscape of the poem. The frozen lake’s stillness is a symbol that transcends the physical landscape, speaking to the deeper aspects of human experience and the need for moments of reflection. The frozen lake’s stillness is a testament to Frost’s ability to infuse natural imagery with profound emotional and philosophical depth, creating a poem that continues to resonate with readers. The frozen lake’s stillness is a beautiful and evocative image that has become an iconic part of American literature, inspiring countless interpretations and reflections. The frozen lake’s stillness is a powerful metaphor that underscores the importance of moments of quiet reflection in a busy and often chaotic world. The frozen lake’s stillness is a key element that contributes to the poem’s exploration of themes such as isolation, responsibility, and the journey of life. The frozen lake’s stillness is a testament to the enduring legacy of Frost’s poetry and its ability to evoke emotions and inspire deeper thought in readers. The frozen lake’s stillness is a symbol that reminds us to cherish the fleeting moments of beauty and peace that life offers. The frozen lake’s stillness is a central element that enhances the poem’s emotional resonance and philosophical depth, making it a beloved and studied work. The frozen lake’s stillness is a powerful reminder of the importance of nature in providing solace, inspiration, and a moment for introspection. The frozen lake’s stillness is a symbol that continues to captivate readers, inviting them to reflect on their own lives and the beauty of the world around them. The frozen lake’s stillness is a testament to Frost’s skill in crafting imagery that is both vivid and meaningful, leaving a lasting impression on all who read the poem. The frozen lake’s stillness is a key component of the poem’s ability to evoke a sense of wonder and contemplation, making it a cherished part of literary heritage. The frozen lake’s stillness is a powerful symbol that enriches the poem’s narrative and themes, ensuring its place as a timeless classic in American literature. The frozen lake’s stillness is a reminder of the importance of slowing down and appreciating the beauty that surrounds us, even in the most fleeting moments. The frozen lake’s stillness is a central element that contributes to the poem’s exploration of solitude, responsibility, and the human condition. The frozen lake’s stillness is a testament to the enduring power of Frost’s poetry to evoke emotions and inspire deeper thought in readers. The frozen lake’s stillness is
8.2 The Darkest Evening as a Representation of Time and Mortality
The darkest evening symbolizes the passage of time and the inevitability of mortality, contrasting the serene winter scene with solemn themes. The speaker’s journey through the evening underscores life’s finite nature, prompting reflection on promises kept and miles yet to travel. Frost’s imagery evokes the universal human experience of time’s relentless march, making the poem a profound meditation on life and its fleeting beauty.